9.3 CamsGui with confirmation
The captured files are located in the folder CapturedFiles. The files with suspected moving objects are located in the folder ArchivedFiles. That is the situation before you begin with CamsGUI. If this is your first run and you are not familiar or having trouble with manual calibration (FTP_MeteorCal.exe read section 7.2) please practice this before starting CamsGUI.
Start CamsGUI, there are several checks build in in CamsGUI.
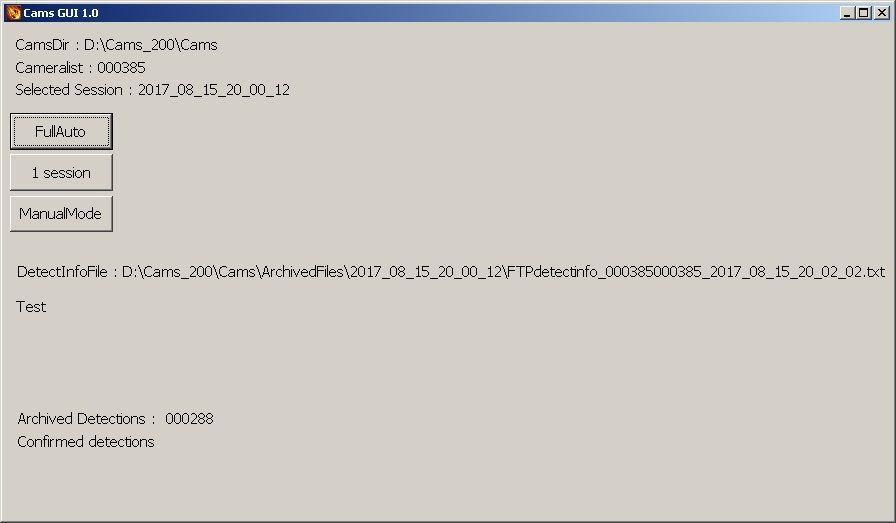
Figure 58 – The CamsGui command box.
- CamsDir: where is the cams directory located
- Cameralist: the list of cameras that recorded
- Selected session: the session to work on
- DetectInfoFile: The archived Detectinfofile of the selected session
- Test: Messages about program status
- Archived detections: The number of detections in the archived DetectInfoFile
- Confirmed detections: The number of detections in the confirmed DetectInfoFile, you have to confirm first.
To get started we have 3 buttons:
When you press FullAuto then all not processed sessions located under CapturedFiles will be processed in chronological order. If the calibration was successful at once (executed and applied by LaunchCapture), you will immediately go to the Confirmation screen. If the calibration was not successful then it will show a message box that asks you if you want weather thumbnails for the uncalibrated camera.

Figure 59 – Message box to prompt the user to ask for thumbnails or not.

Figure 60 – Screenshot while Meteor Thumbnails is running.
The creation of the thumbnails can take a while. The thumbnails are made for all cameras at once, if you have multiple cameras you only have to wait one period of time for the creation of them. When the thumbnails are made they are opened at once for the uncalibrated camera you are working on.

Figure 61 – The BMP file with all the thumbnails.
You can take a look at the thumbnails and decide if the calibration was failing because of clouds or any other reason. If you think that the calibration has failed because the camera has been moved. Determine the time with the largest number of stars. In this case the camera has not been moved, it was a cloudy night. The next message box asks if you want to do a NudgeUpdate (see section 7.5).
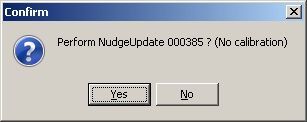
Figure 62 – Message box to select nudging.
If the NudgeUpdate was successful, it is followed by an auto calibration (see section 7.5) and an ApplyCal2Detectinfo (see section 7.6). If the NudgeUpdate fails because the camera has been moved too much or it concerns the first calibration for that camera you can do a manual calibration (see section 7.2).
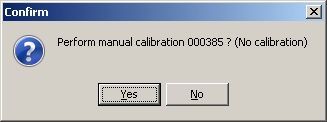
Figure 63 – Message box to select a manual calibration.
If the manual calibration was successful, an auto calibration and an ApplyCal2Detectinfo will take place. The calibration file produced by nudge calibration is renamed to “.nudge”, a manual calibration file is renamed to “manual”.

Figure 64 – Overview of different versions of the calibration files.
If the calibration did not succeed at all then this message box is displayed.
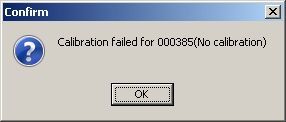
Figure 65 – Message box in case calibration failed.
With or without successful calibration we have arrived at the confirmation.
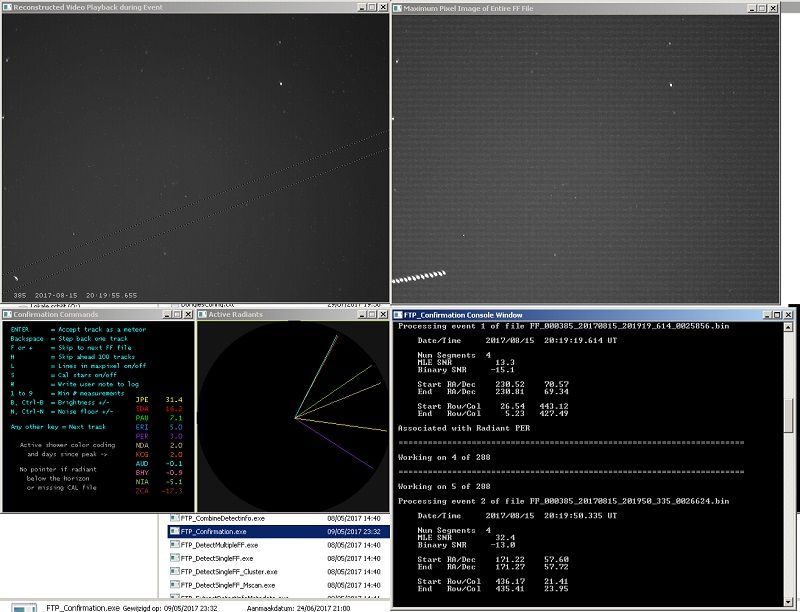
Figure 66 – Screenshot of FTP_Confirmation.exe when running, showing a typical false detection caused by a plane.
Next five windows are opened on your screen:
- Top left: a video fragment of the detection or track with two parallel lines marking the suspect moving object.
- Top right: a stacked image of all 256 frames of the binfile showing the accumulated illuminated pixels and thus everything recorded during the 10,24 seconds duration of the bin file captured. This view allows verifying at once if there was a single or more events detected.
- Bottom left-left: available functions and active radiant list.
- Bottom left-right: The expected direction of motion for meteors from any active meteor shower.
- Bottom center: the details about the event being analyzed.
During confirmation you have the following functions available:
- Enter (Return): Confirm detection as a meteor
- Backspace: Step back one track
- F, f, or +: Forward skip to the next bin file with detections
- H, h: Skipping Hundred tracks ahead
- L,l: Lines in maxpixel on/off
- S: Cal stars on/off
- W: Write user note to log
- 1 to 9: Min # measurements (min. frames movement has to be on to display in confirmation window)
- B / Ctrl-B: increase / decrease brightness
- N / Ctrl-N: increase / decrease Noise floor
- Any other key: Skip to next track
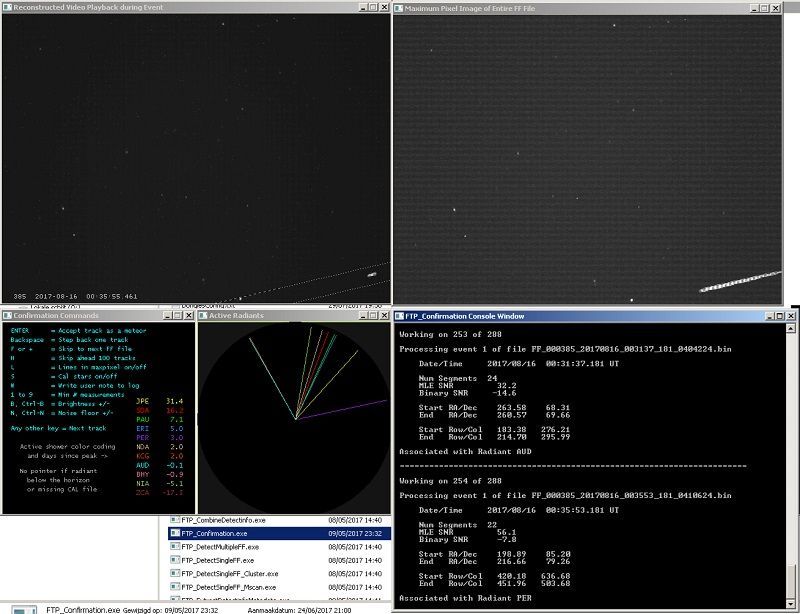
Figure 67 – Screenshot of FTP_Confirmation.exe when running, showing a real meteor trail.
Most detections will prove to be due to planes (especially near airports), clouds, birds or insects. Meteors may be very faint, barely visible on the screen, hence it is strongly recommended to work in a dark room or at least with sufficient contrast on your screen. Small screens of laptops aren’t very suitable for this kind of visual confirmation work. When clouds generated large numbers of detections the F-key may help to proceed faster while looking mainly at the top right window with the stacked image of the entire binfile.
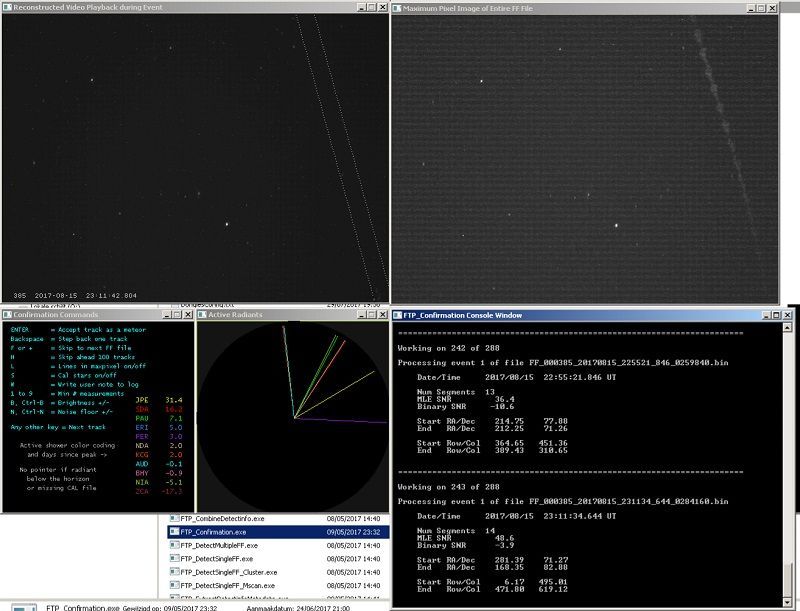
Figure 68 – Screenshot of FTP_Confirmation.exe when running, showing how birds appear to cause false detections.
Planes can be easily distinguished, but birds that reflect some city light may look very similar to a meteor appearance. In case of doubt if the detection looks very likely a meteor, it is recommended to confirm this as a meteor. Later the coincidence procedure on the entire network dataset will match only real meteors for trajectory and orbit calculations.
When all detections have been verified, the confirmed binfiles are copied under the directory ‘C:\CAMS\ConfirmedFiles\yyyy_mm_dd_hh_mm_ss\’ with as final result an infodetectfile with the data for the as meteor confirmed detections.
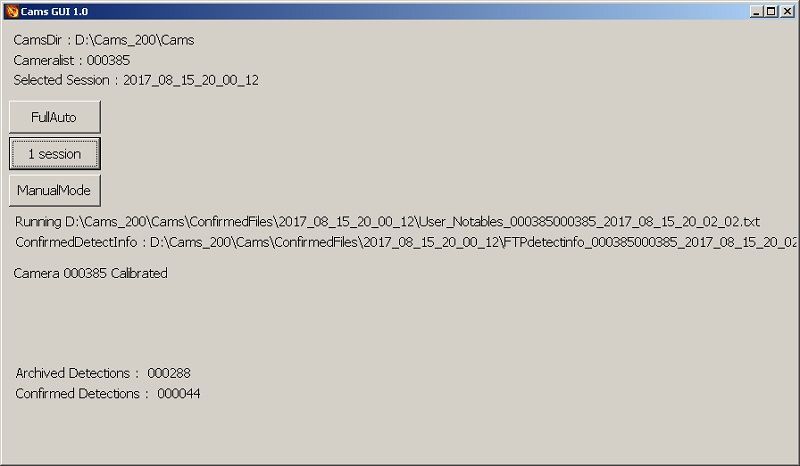
Figure 69 – CamsGui window displaying the number of confirmed meteors bottom left.
When confirmation is finished the CamsGUI window is updated with the # confirmed detections (see Figure 69).
User_Notables_xxxx is opened now, here you can write some comment about that captured session you want the coordinator to know. This text will be sent by email to the CAMS network coordinator.

Figure 70 – Textbox to enter some free text to be sent to the coordinator.
At the next step the program is copying the CapturedFiles/ArchivedFiles/ConfirmedFiles to the submission folder. The logs about that session are also copied to the submission folder. And there is also an FTP folder in it, that folder contains the files that will be transmitted to the FTP server.
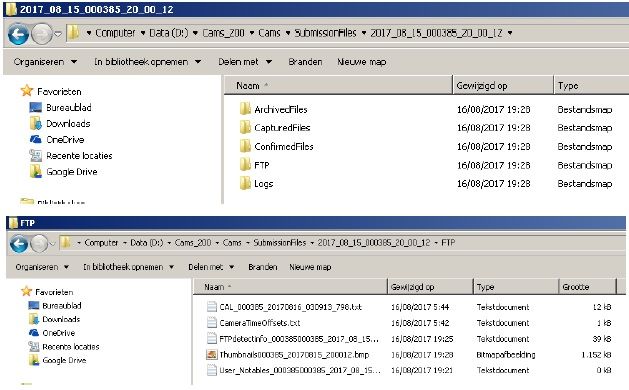
Figure 71 – Directory structure and files copied under SubmissionFiles.
In the FTP folder you’ll find the detectinfo file, the cal-files used in the detectinfo file, the thumbnails of the confirmed meteors, the user_notables file and the CameraTimeOffsets file.
This FTP folder is zipped to the Submittedfolder

Figure 72 – All relevant files are compressed in a single zip file.

Figure 73 – After been successfully transmitted the zip is moved to the Transmitted folder.
When the transfer to the FTP server is successful the zip file is moved to the transmitted folder.
When all this is finished we start again from the beginning with the next session which was not yet processed. If there are no sessions left CamsGUI displays “No sessions available”.
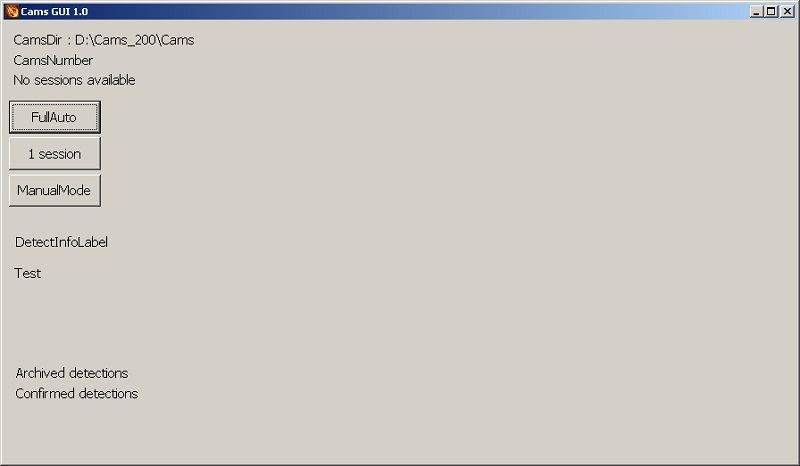
Figure 74 – When all nights have been processed “No sessions available” appears at top left.
If we click on “1 session” you’ll go through the same process as FullAuto, with as difference that the processing stops after 1 session. You start with the oldest session, and each time you click on “1 session” you process the next one.
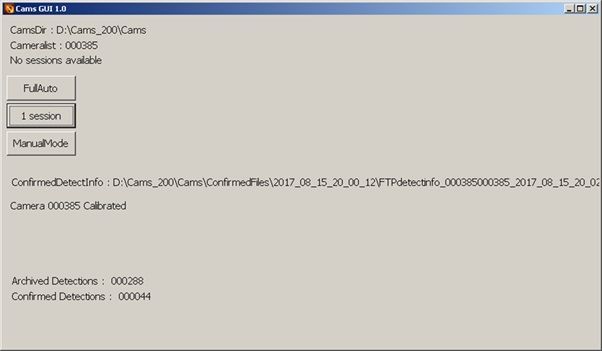
Figure 75 – Clicking the “1 session” button in GamsGui.
When something went wrong, and you are an experienced user, you can activate manual mode. All checks are disabled in manual mode.
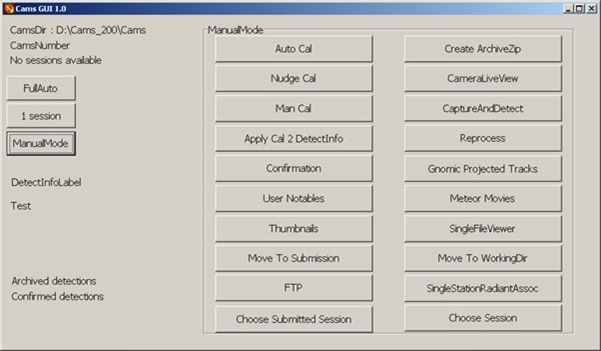
Figure 76 – The manual mode window of CamsGui.
When you click on manual mode there are additional buttons visible.
I think if you know Pete Gural’s programs you know what most of the buttons do. If you don’t know what they do I advise you to look them up in the sections mentioned with each routine for a detailed explanation.
| Button | Pete Gural’s Program | Corresponding section |
| Auto Cal | Starts FTP_MeteorCal_AutoUpdate | See also 7.5 |
| Nudge Cal | Starts FTP_MeteorCalNudgeUpdate | See also 7.5 |
| Manual Cal | Starts FTP_MeteorCal | See also 7.2 |
| Apply Cal 2 Detectinfo | Starts FTP_ApplyCal2Detectinfo | See also 7.6 |
| Confirmation | Starts FTP_Confirmation | See also 7.7 |
| Thumbnails | Starts FTP_Thumbnails | See also 7.9.7 |
| CameraLiveView | Starts the Camera live viewer corresponding to the capture program defined in CamsGUI.ini | See also 7.1 |
| CaptureAndDetect | Starts the capture program defined in CamsGUI.ini | See also 7.3 |
| Reprocess | Starts FTP_MultipleFF | See also 7.4 |
| Gnomic ProjectedTracks | Starts FTP_GnomicProjectedTracks | See also 7.9.5 |
| Meteor Movies | Starts FTP_MeteorMovies | See also 7.9.9 |
| SingleFileViewer | Starts SPFF_SingleFileViewer | See also 7.9.8 |
| SingleStationRadiantAssoc | Starts FTP_SingleStationRadiantAssoc | See also 7.9.6 |
We still have some buttons left:

Figure 77 – Selecting a submission session.
“Choose Submitted Session”: choose a session that is already processed, this opens a dropdown box (see Figure 77). Hit ok, when you selected the session you want.
After that you’ll probably want the session to be put back in the “working dirs.” (the capturedFiles/ArchivedFiles/ConfirmedFiles directly in the cams folder). You can do this by clicking “Move to working dir”.
“Choose session” works like “Choose Submitted Session” except that you can choose a working dir session.
“Move to Submission” moves the working dir files to the Submission folder. The FTP folder and the logs are also created/moved.
“FTP” uploads the FTP folder to the FTP server, using the folders submitted and transmitted.
“Create ArchiveZip” creates a zip file on a given location, and erases the files in the Submission folder.

